


Enhance Your Swing with The Stomping in Golfing Shoes
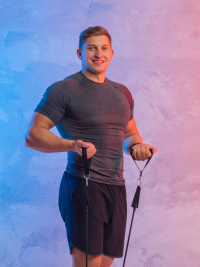
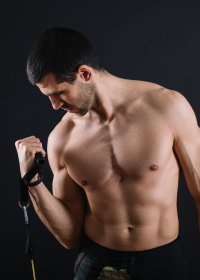
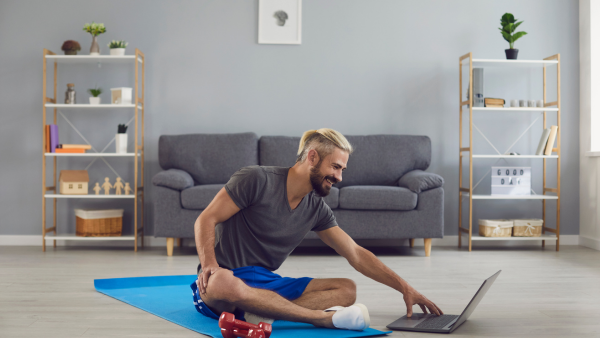
Join our online fitness program in Australia, specifically designed to improve your golfing skills. Our expert trainers will guide you through tailored workouts to enhance your swing, increase flexibility, and boost overall performance.

Get Fit and Master the Green with The Stomping in Golfing Shoes
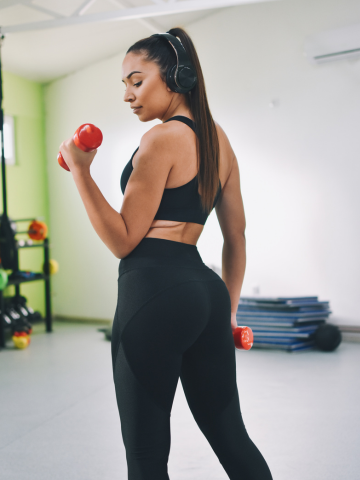
Transform your game with our online fitness service in Australia. Our golf-specific conditioning workouts target key muscle groups, improve strength and stability, and help you achieve peak performance on the golf course.

Elevate Your Golfing Abilities with The Stomping in Golfing Shoes
Take your golfing to new heights through our personalized online fitness coaching in Australia. Our certified coaches will provide tailored training plans, expert advice, and performance analysis to optimize your golf fitness journey.

Rebecca Smith
Certified fitness coach specializing in golf-specific workouts for online fitness Australia.
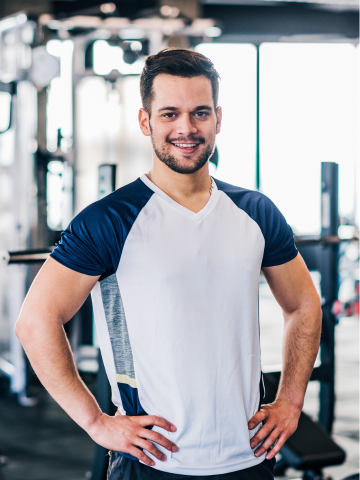
Mark Thompson
Experienced golf instructor offering online coaching and personalized training programs.